Saturday, August 29, 2015

FIVE NIGHTS AT FREDDY'S PARTY


It's been quite a while since I have documented a birthday party...well, at least a year!  Here we go again with popular theme parties. This year Victor is turning 8 and he is a huge fan of FIVE NIGHTS AT FREDDY'S which I keep calling, unintentionally like a mother does, FRIDAY night at Freddy's. Victor then rolls his eyes and chuckles. Now, when Victor speaks to me about the whole Freddy experience he now refers it as "Friday" Night at Freddy's just to make me feel better (I love him).
Five Night's at Freddy's has a very dark and horrific story behind it t that I'm not certain my son fully understands...but that's fine by me. I knew I shouldn't have watched episodes of Dexter while pregnant with him....sigh! In the end, boys like to get the frights and that's what  draws most of them in.


The Invitation

My daughter is the one who gave me the idea for the invitation. She suggested a newspaper headline for the pizzeria looking for a new security guard. So, my search for an old newspaper template began. I found a few Apple apps that offered templates but the choice was limited and I couldn't change most of the text. I ended up making a google search for Old Newspaper templates and found many. I used this one: http://www.presentationmagazine.com/editable-old-newspaper-template-4520.htm I downloaded this free version and this is the result:
Notice the guest's name is written on the upper right corner and all the details of the party are in the text portion of the article.

Afterward, I rolled it up around a wrapping paper cardboard tube and secured it with an elastic.  Ready for delivery! Extra Extra...read all about it!


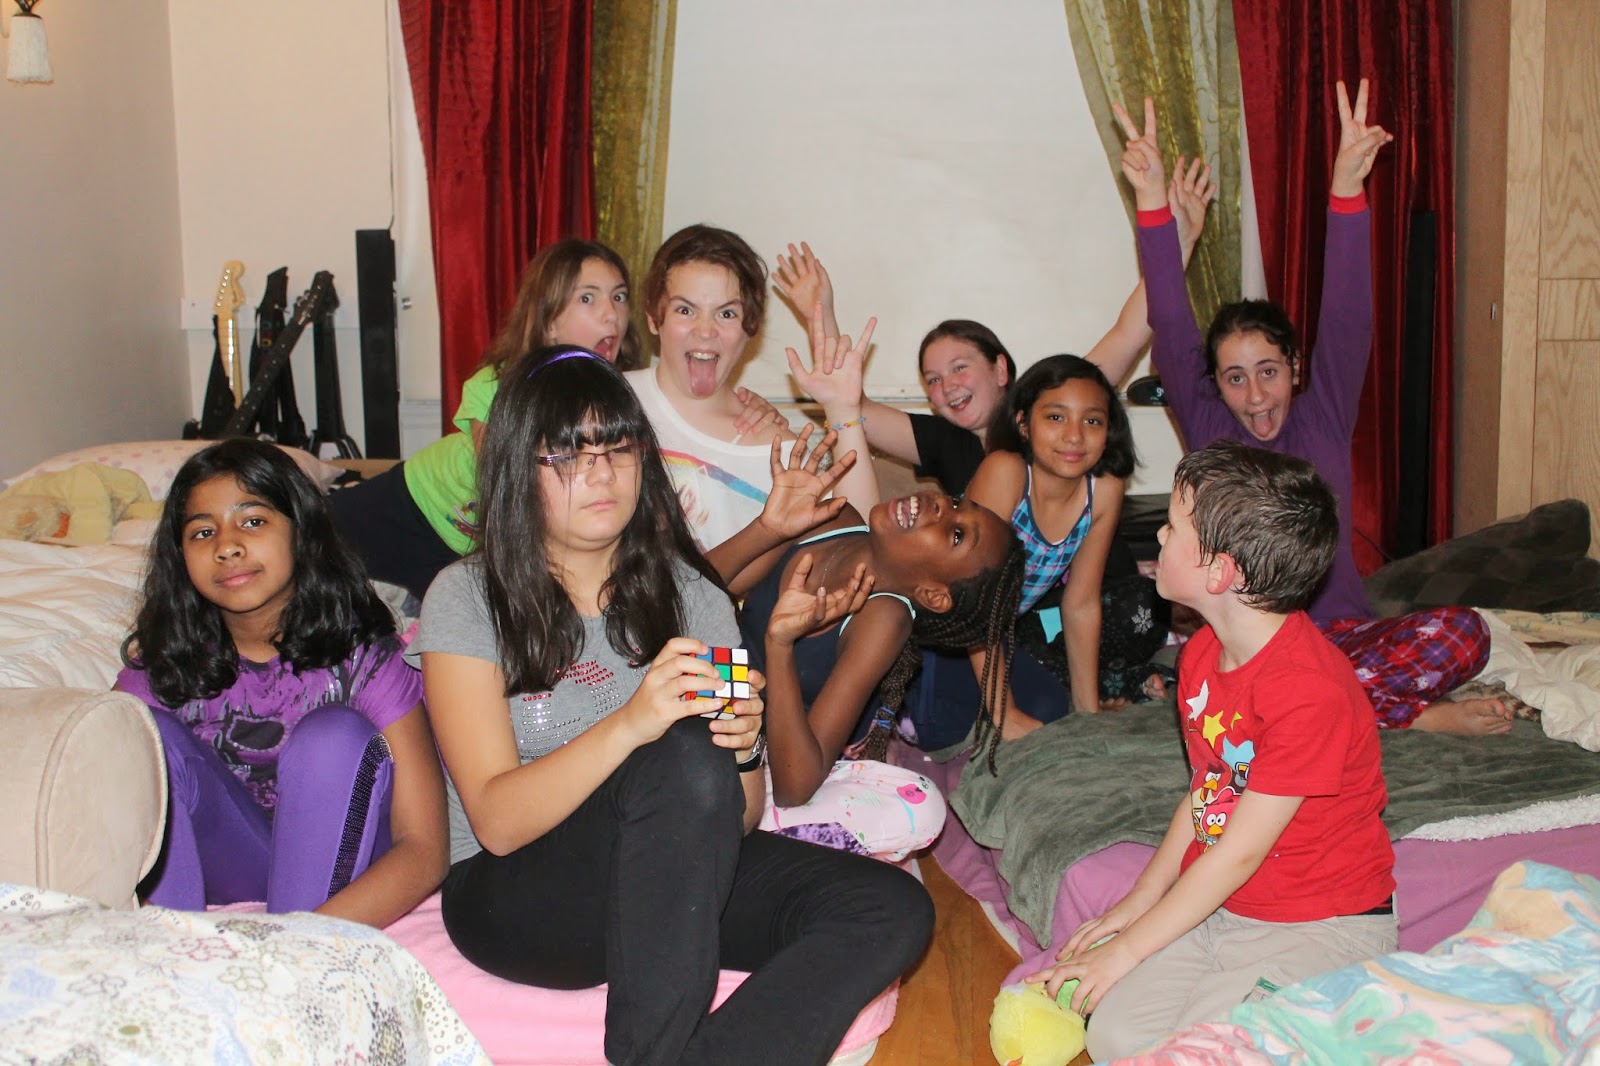
I'll keep you posted on the rest of the party as I keep working on it with a few recruits perhaps. Go play at Freddy's in the meantime (or wait till Friday ;) )...I DARE YOU! 

The Freddy Fazbear Mask

I absolutely love being on vacation because that means I have time for making stuff! The kids are at school and as soon as the stores open I'm off to the Dollar Store. Got everything I needed to follow a tutorial on how to make a Freddy Fazbear mask. Now, it certainly didn't come out like his but I'd say it's not too shabby. Ray made a movable jaw with an iron pipe and the rest was based on this tutorial: https://www.youtube.com/watch?v=01qrnCRjihE

Here's mine: 
 At least the kids recognized him!


So again, vacation is GREAT, because I was home to answer the door when Puro came by the deliver the t-shirts I ordered from VistaPrint for Victor's party...Oh yeah! Each guest will get one!
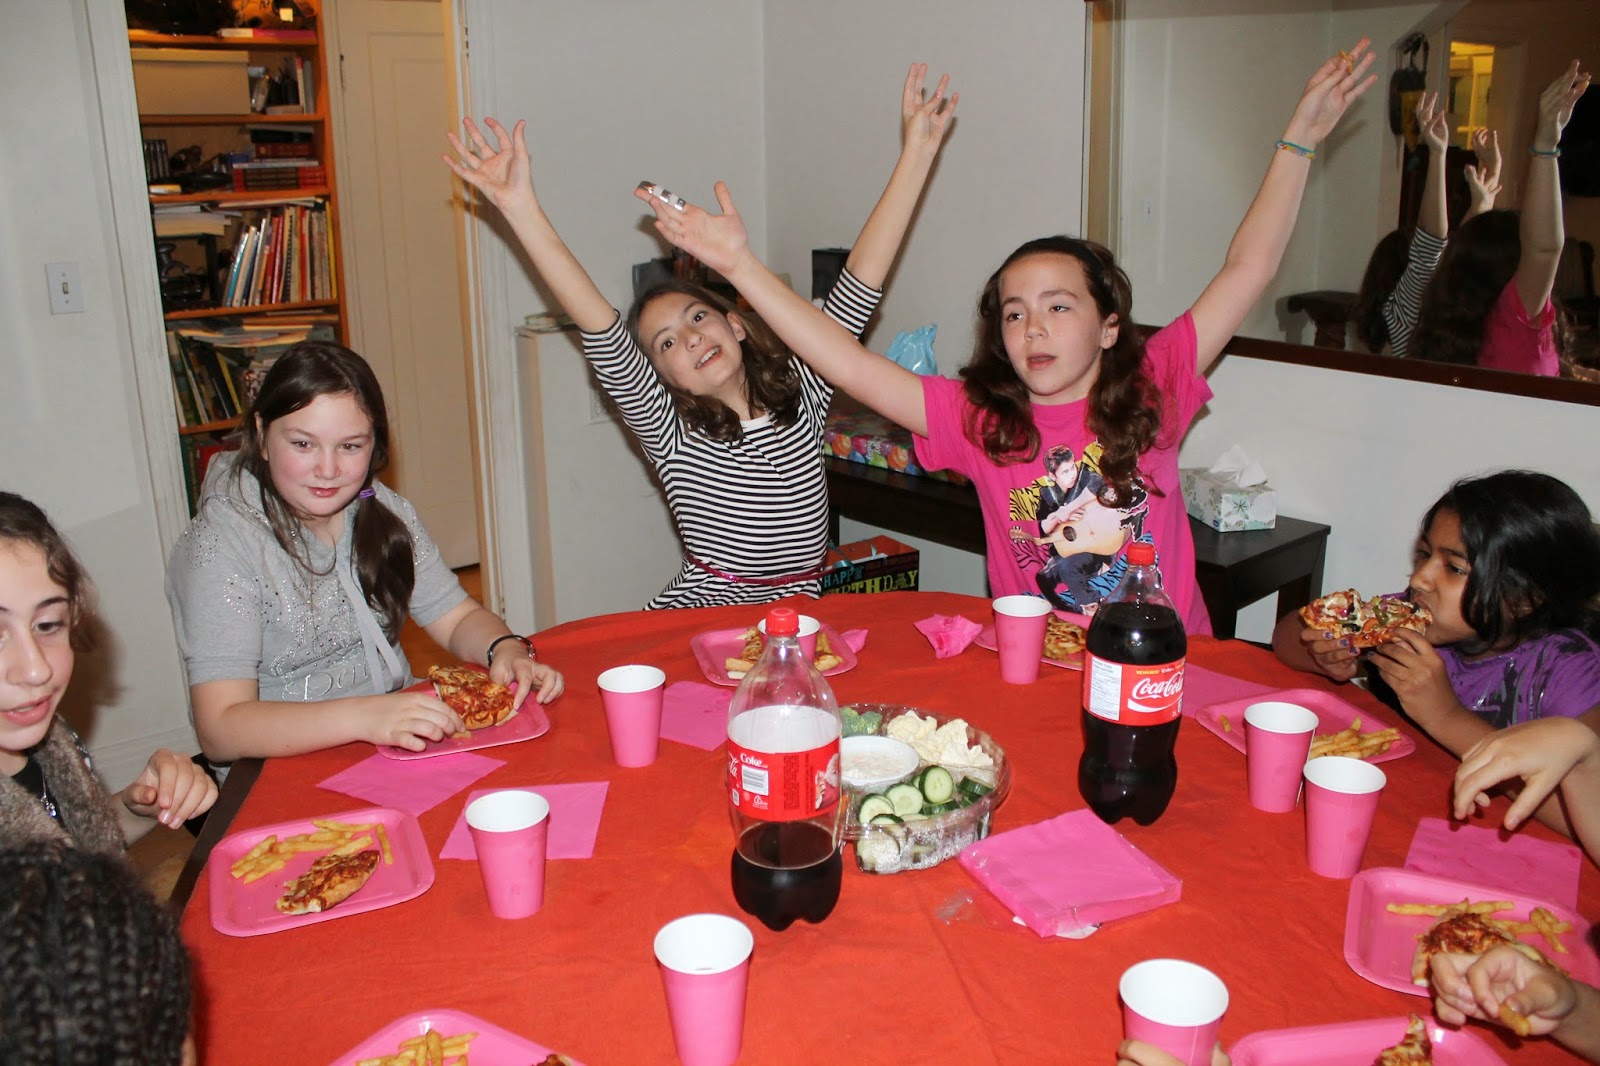

The Loot Bag!

What's in it?

* T-Shirt (Vistaprint)
* Flashlight (Dollar Store)
* Handcuffs and keys (Dollar Store - part of a kit)
* Goggles and badge ( Dollar Store - part of same kit)

It's getting close to Halloween and if I find police hats at the dollar store next week, I will simply add them to the loot bag. Keep in mind that the guests will get the loot bag on arrival at the party. :)

Watch the party here:


https://www.youtube.com/watch?v=74JWnJVmfFs

During the party, three of us were dressed up as animatronics, and one person was the emcee explaining the game and keeping an eye on the guests. We have a long bowling alley hallway in which we set up three infrared cameras allowing us to capture the kids' reactions as they played Five Nights At Freddy's LIVE!

We had Marionette, Foxy and Chica each hide behind one of 6  doors and the kids had to travel the dark hallway with their flashlights opening the doors they believed no anamatronics was behind.

IT WAS AWESOME!!!


Friday, April 4, 2014

DESPICABLE ME MINIONS COSTUME

with a TWIST!!

I'm a little late posting our 2013 Halloween costumes but the desire to do so has been haunting me lately. My kids were way too adorable not to share with you all. Halloween falling in the middle of my son's and daughter's birthday parties fills up the calender quite abundantly. I got help this year as I not only lacked time but I'm afraid my energy level was lower than usual. I hired my own Suzy homemaker...Ray...

Of course, Despicable Me Minions have been quite the craze lately so who am I to fight the magnetic charm of Minions? Ray and I brainstormed trying to find a better way to make amazing costumes taking into consideration techniques we had seen on the web. Here's what we came up with...

 We bought a mattress cover foam at Wal-Mart (cheapest there), and wrapped our daughter up in it like a sausage (hee hee)!
'Mickey, can you breathe?'

Determine the right height for your child and cut holes for both arms.

 Continue by cutting a hole big enough for the face. It really doesn't matter if the hole is a little bigger. (You'll see why later on)
 Cut 3 slits to round off the top of the head of the Minion.


Suzy homemaker here,  sewed a yellow cover slip together to cover the foam which now forms the minion's head and part body.


   Unfortunately,   I've lost the pictures I took on how I made the Minion eye(s) and mouth...so here's what you'll need:

EYES:
- round cardboard jewelry box which you will need to cut a circle opening on the lid to create a goggle.
- paint the goggle silver
- cut a Styrofoam ball in half and paint an eyeball on in
- once dry glue it to the inside of the google
- the strap is VELCRO. You just need to cut two slits wide enough to fit the strap through the goggles and just strap it on when your child is in the costume!
MOUTH:
Use arts and crafts foam sheets and cut desired shape and glue together....easy peasy!


Surprise, surprise!! This is a shot of the BACK of the Minion costume! If you are seeing the Minion's face, it gives the illusion that he is walking towards you before you realize that he is actually backing up from you!! We were stopped about 10 times while tricker treating by people who wanted a picture! It was hilarious and the kids felt like celebrities!
 EXTRAS: Add pipe cleaner hair strands; overalls and black gloves!


Sunday, October 20, 2013

THE CANDY CAKE

For this slumber party I've opted for an unusual cake... A CANDY CAKE! They can snack on this while watching a movie! I know, I know, they probably won't sleep but who sleeps at a slumber party anyway! This is how I made the candy cake with Mickey's help of course!

You'll need a hat box and also a smaller round box (not shown...but the lid of it is there for some reason), double sided tape (lots of it), candies, chocolate bars and chips!


Cover the whole outside of the hat box with the double-sided tape take off the protective strip as you stick your favorite candies on it...be adventurous. No matter what you do it will end up looking like a sweet mess anyway...so have fun with it. As you can see, We've stuffed the inside of the box with chips! Yummy!


We've added the smaller box on top of the bigger box's lid to add height. We added lollipops and sparkly pipe cleaners. It acts as a tier...We then proceeded in sticking our candies onto the box..and of course, we've added fake tea lights...


How beautiful is that! Sssaawweeeetttt! So there you go, have your cake and eat it too!


Sunday, October 13, 2013

SLUMBER PARTY!!!


As my daughter gets older thematic parties will soon be a thing of the past. I think, to my dismay, this year will mark the end of an era. She's turning 11. I suspect that Mom's quirky parties will no longer have their place in this young girl's (nearly young lady) life. I will have to stay cool...hmfff...

So, for a grand finally, I've tamed things down a little. A little less effort...but longer time with friends.

THE  INVITATION:

Subtle, yet feminine and also more age appropriate. 

Bought hot pink invitation cards, googly eyes, and construction paper at The Dollar Store (ta dum). Cut a black piece of paper and glue to the front of card. Add googly eyes to give impression of eyes in the dark.


Work on the text....say whatever you want to say. Mine includes what the activities will be during the evening. Pizza and movie on a big screen and girl time. I did mine on a pillow image. Use any background you desire! I've asked them to bring their own pillow and blanket (sleeping bag). I plan on giving them a toothbrush, toothpaste, floss, brush in the their loot bag. 


Just to add a little softness I've added feathers sticking out of the pillow. As per usual, I've goofed on the dates (I really have to get rid of that funny calender I have hanging on the kitchen wall...urh). If you've been following me, you know that personalizing is key to making your guests feels special so, don't forget to write each guest's name on the invitation somewhere (envelope in this case)!


The SLUMBER PARTY lasted 19 hours but, it was the easiest party to host! As my daughter turns into a pre-teen the less her friends need to be entertained. Girls after all will be girls and do what girls do best...talk.

The party started off slowly and calmly while waiting for the pizza guy to get there. A quiet game of Monopoly...sometimes not so quiet but hey, it is a party.


Yay! Pizza! - The two Victorias (hands up) are very happy!


A little Monster's University on the big screen to polish off that candy!
Opening the gifts

The famous candy cake (instuctions on earlier blog post)
The girls with the help of Victor destroyed that cake in less than 30.2 seconds in a very noisy way!
Making snowglobes
Cool...no?
The whole living room turned into a giant bedroom! Good night! (yeah, right)


Tuesday, August 20, 2013

The Angry Bird-day Party

The Bird House Invitation


A soon to be 6 year old gave me an Angry Bird Challenge recently. I fear that my son, Victor, is growing up to be a little like me. He's been coming up with ideas for his Angry Bird theme party for a month now AND his bird-day isn't for another month to come. I've searched on Pinterest for inspiration for invitation ideas but nothing sparked my creative juices until my trip the...wait for it..."The Dollar Store". The trip was also filled with challenges as my patience and concentration skills were put to test. Victor came with me on this trip! Ouf!

Found these beautiful wooden bird house facades...I picked up 6 and continued on my round to find complementary accessories to complete my much more than just a simple "bird brain" idea!


Wouldn't you know it? These Angry Bird Toppers were tucked away on a shelf way up high...did they fly up there? My creative son then said "Look, Mom...it fits in the bird house hole!" Thank you Vic! Smart cookie, he is!


Back home, I took out some craft paper and cut it to fit both the front and back of the house. Cut hole in "almost" the  right spots...umph!


Made a trip to my craft room to paint the roof and quite honestly...left everything there for the morning!
See the coffee stir stick? Had  those handy and planning to use them to stick it in the birds...no wonder they're  angry.


And...attach the stick like so...with the stapler! Pretty darn easy...any cuckoo bird can do this...


Cover the back with your craft paper and turn it around. Cover up the front with paper of your choice...and you're almost done!


Write your text as you wish...turn around and add details of the party on the back portion...


like so....


The finishing touch includes a "bomb" tag with the name of your guest! ;) Now...we just need to get them delivered!

The rest of the party will be documented soon....until then my angry friends!


The Loot Bags


 There are a lot of Angry Bird stuff out there but most of it is too expensive to throw into a loot bag. I resorted to my safe place once again...The Dollar Store.

I found a whole bunch of stuff and even put some of it back on the shelf. There comes a time where you have to set limits and be more selective. Found a Angry Bird note book set complete with pad; 2 pencils; 2 erasers; and pencil sharpener. Along with...
- an activity book
- a water bottle
- sling shot
- rings
- rubber worms
- moss and string
                                                                                    - feathers (which I did not end up using afterall)
                                                                                    - small plastic plates (not shown)


 The plastic plates come in all Angry Bird colors which is a bonus...so pick what you want. I opted for green to give contrast to the red items. I placed some moss on the plates and taped the pencils in a way to stay true to my bird house invitation.


Stuffed the red note pad in the center of the moss and plates and worked the smaller items around it. Added some worms. Once begun...almost done.

Once all the trinkets are in place and secured with tape wrap in cellophane paper.


 Use your string to add the activity book, water bottle and sling shot...and there you have it. An attractive nest of goodies!

Saturday, August 3, 2013

Energy and Sanity In A Jar

Teacher/educator/camp counselor thank you gift


It's becoming more challenging each year to stay original in my thank you gifts to teachers, educators, and camp counselors. Some may say gifts are not necessary but I find it's important to give recognition where efforts are made. Especially if it involves your children's well being. This year, our summer camp G.O.'s will be getting a little energy and sanity in a jar. I figure, that's what I would want if I spent the summer with a hundred screaming kids...ISH! 

The kit includes whatever fits the theme and fits in the jar you've picked. Here's what these contain:

- a jar
- instant cappuccino mug
- Hershey's kisses
- mini snickers bar
- mini M&M pack
- mini Twix bar
- sleeping blindfold (this one says "finally...peace!")
- herbal teabag
- bath beads
- bag of Reisen candies
- pocket kleenex pack

Use your imagination...fill it up with other goodies too!


Of course, this is to wipe the tears that will be shed from saying goodbye to your kids... So, imagine this: the counselor, a few weeks later reaches for a tissue from her purse or his pocket and a little reminder of camp surprises them...one last time... (go to next picture) ;)


I've printed a picture of my kids and left a caption as well: " Don't cry! We'll be back! Mickey & Victor xoxo

That will result in an instant smile and this camp employee will surely remember and maybe even keep an extra eye on your kids as camp next year... (Hey, you've got to keep the odds on your side). 


Finishing touch to your jar - A note from your child! Attach it to the jar and voilĂ